Upload attachments for your recipients manually or automatically without a size limit to your private Nextcloud server.
Available for: Basic, Professional & Premium
TABLE OF CONTENTS
Using this feature
Depending on your settings the following dialogs can be started manually, automatically (option to use it or not) or even enforced. The dialogs will be the same, only the way it is being triggered is different. If the setting enforces it, the dialog will start by itself so therefor we will focus on the manual option.
If you want to manually upload attachments, you can go to the Share Files button in your email dialog ribbon. This can be accessed from the “Message” or “Sendent” tab.

Once the Share Files option is activated a new dialog will appear.
You can’t go back into Outlook as long as this dialog is still open.Dialog explanation
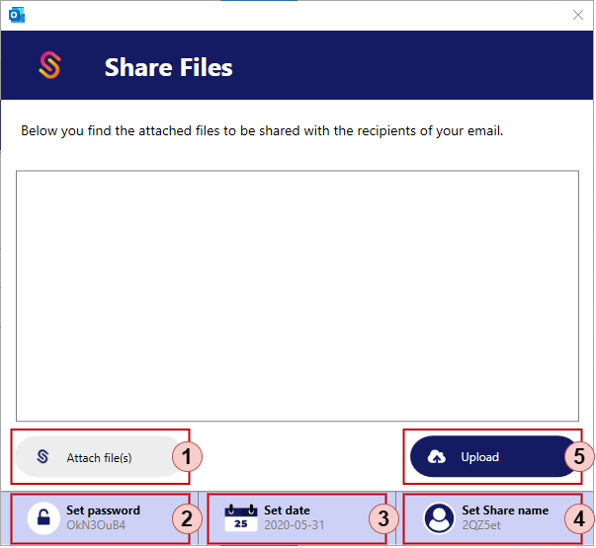
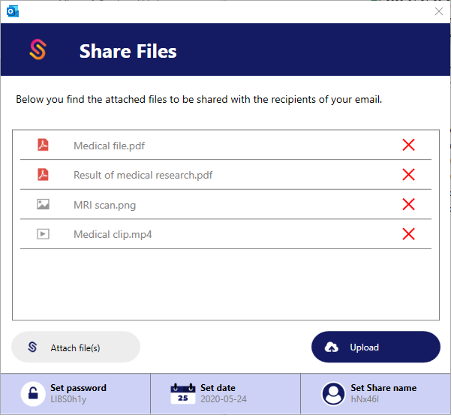
1 | Attach file(s) Opens dialog to select the files you want to upload. You choose in between:
|
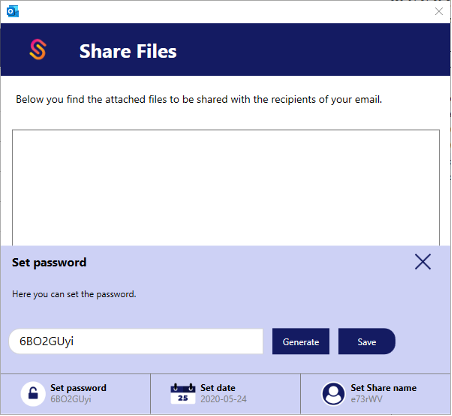
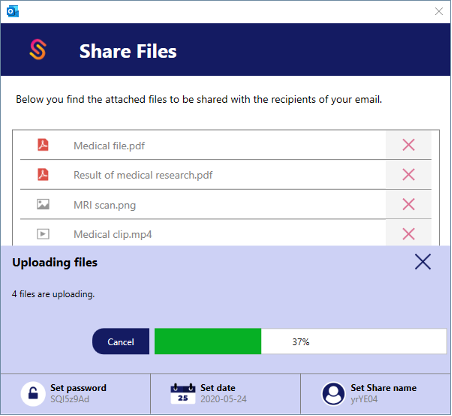
2 | Set password Adjust the password or generate a new password.
|
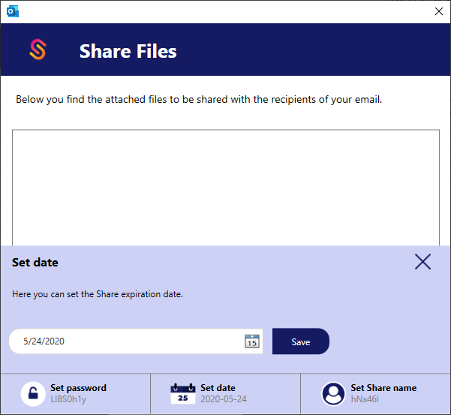
3 | Set date Choose a specific expiration date or use the default intervals: week, month, year.
|
4 | Set Share name Adjust the Share name for your recipient. |
5 | Upload Start uploading all the files. |
Share Files configuration
Once all files and settings are set you can start uploading the files. The progress bar shows the status. As you can see below.
After the successful upload of the files you will be taken back to the email where an email template is inserted. This can contain your Share and (if applicable) the password and expiration date. As you can see below.
|
|

Professional: With this plan you have the option to adjust the email template in the corresponding location in the add-in settings or server settings. This can be set in the Share Files snippet.
You can adjust the default insert location of the email template within your email. Check out the Settings chapter.